
Showing posts with label nail art. Show all posts
Showing posts with label nail art. Show all posts
Thursday, October 17, 2013

 II'
II' 
Friday, August 16, 2013
Bubbles, and taking a backseat
My creative muscles have been flexing lately, and while my nails ate still getting some attention (as in today's bubbles), they're not the only thing on my mind.

So while nails will remain a major feature of this blog, they're going to start having some company in the form of other crafts I've made. Hopefully, they'll be as entertaining to the reader as my polish offerings have provided. ;)
Friday, June 7, 2013
Fuzzy Coat

Thursday, May 30, 2013

Sunday, April 14, 2013

Tuesday, March 19, 2013
Saint Patrick's Day nails. Only a *few* days late.
I seem to have missed St Patrick's day. Well, didn't miss it. I just didn't post There was beer involved, and I was wearing green... and then yesterday there was a doctor's appointment... Anyway!
I had some fun with nails for the occasion.Some tiny punches have very few places they seem to fit. But a field of four leafed clovers? Yeah, that has a place.


I had some fun with nails for the occasion.Some tiny punches have very few places they seem to fit. But a field of four leafed clovers? Yeah, that has a place.


Friday, March 15, 2013


Friday, February 15, 2013
Peace, love, and ombre dots
Bright & funky green is fantastic. But when it's alone, it's kinda hard to match.
Enter the ombre! Ok so green and a royal blue to lavender gradient may not be the basis of all your clothes, but anything that doesn't match anything is bound to go with everything, right?
Also, it's FUN.


Wednesday, February 13, 2013
Funky & Fun hearts for Valentine's day

Funky, fun, with a lot of *pop*, these Valentine's nails are ready to catch the eye of your Valentine. And anyone else who doesn't have impaired color vision. They're Bright!
Inspired by Robin Moses, it's a great, simple look for the holiday. Not exactly something you'd be likely to wear much past the 14th, it's still great in the meantime ;)
Wednesday, January 23, 2013
Valentine's to Halloween in one easy step
Fastest, most awesome manicure makeover ever. Using a new Water Marbling technique here - I had an Ombre valentine's design for valentine's day, but I can only handle pink for so long before I start to twitch.
Cobweb cover makes all the change I needed!

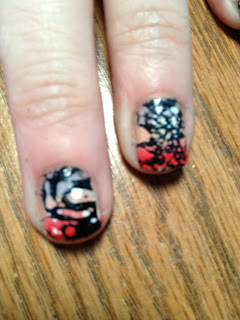

Cobweb cover makes all the change I needed!


Tuesday, January 22, 2013
Hearts over ombré
A bit more seasonal:
What's not to love about Valentine's Day? I mean, besides being drowned in blood red and pepto pink daily for almost two months.
Oh, and hearts and little doves all over everything, I suppose.
And the lace doilies everywhere for no apparent reason...
Well, by Feb 15th there's a plethora of chocolates and slightly wilted roses on super sale, and that makes up for it!

What's not to love about Valentine's Day? I mean, besides being drowned in blood red and pepto pink daily for almost two months.
Oh, and hearts and little doves all over everything, I suppose.
And the lace doilies everywhere for no apparent reason...
Well, by Feb 15th there's a plethora of chocolates and slightly wilted roses on super sale, and that makes up for it!
Monday, January 21, 2013
Black-on-black
I'll be getting more Valentine's designs up soon, but in the meantime, you can never have too much animal-print, right?

Thursday, January 17, 2013
Toxic Goo!


A spotty, dotty French manicure reminiscent of toxic goo in a pond. Much better as a nail design than found in nature!
Monday, December 31, 2012

Thursday, December 27, 2012
Blue Roses for Winter
I wish I could claim this as original, because it's such an awesome design. I wish just as much I could remember where I saw it so that I could give credit to the creator of this fantastic design for winter. If anyone stumbles across a blog showing this design being created, please let me know so I can give credit where it's due! In the meantime, I'm just going to enjoy my beautiful blue blooming nails :)
Edit: Thanks to Kelly for the tip! These nails were were first seen here: http://www.rina-alcantara.com/2012/09/nail-art-blue-wave.html


Wednesday, October 10, 2012
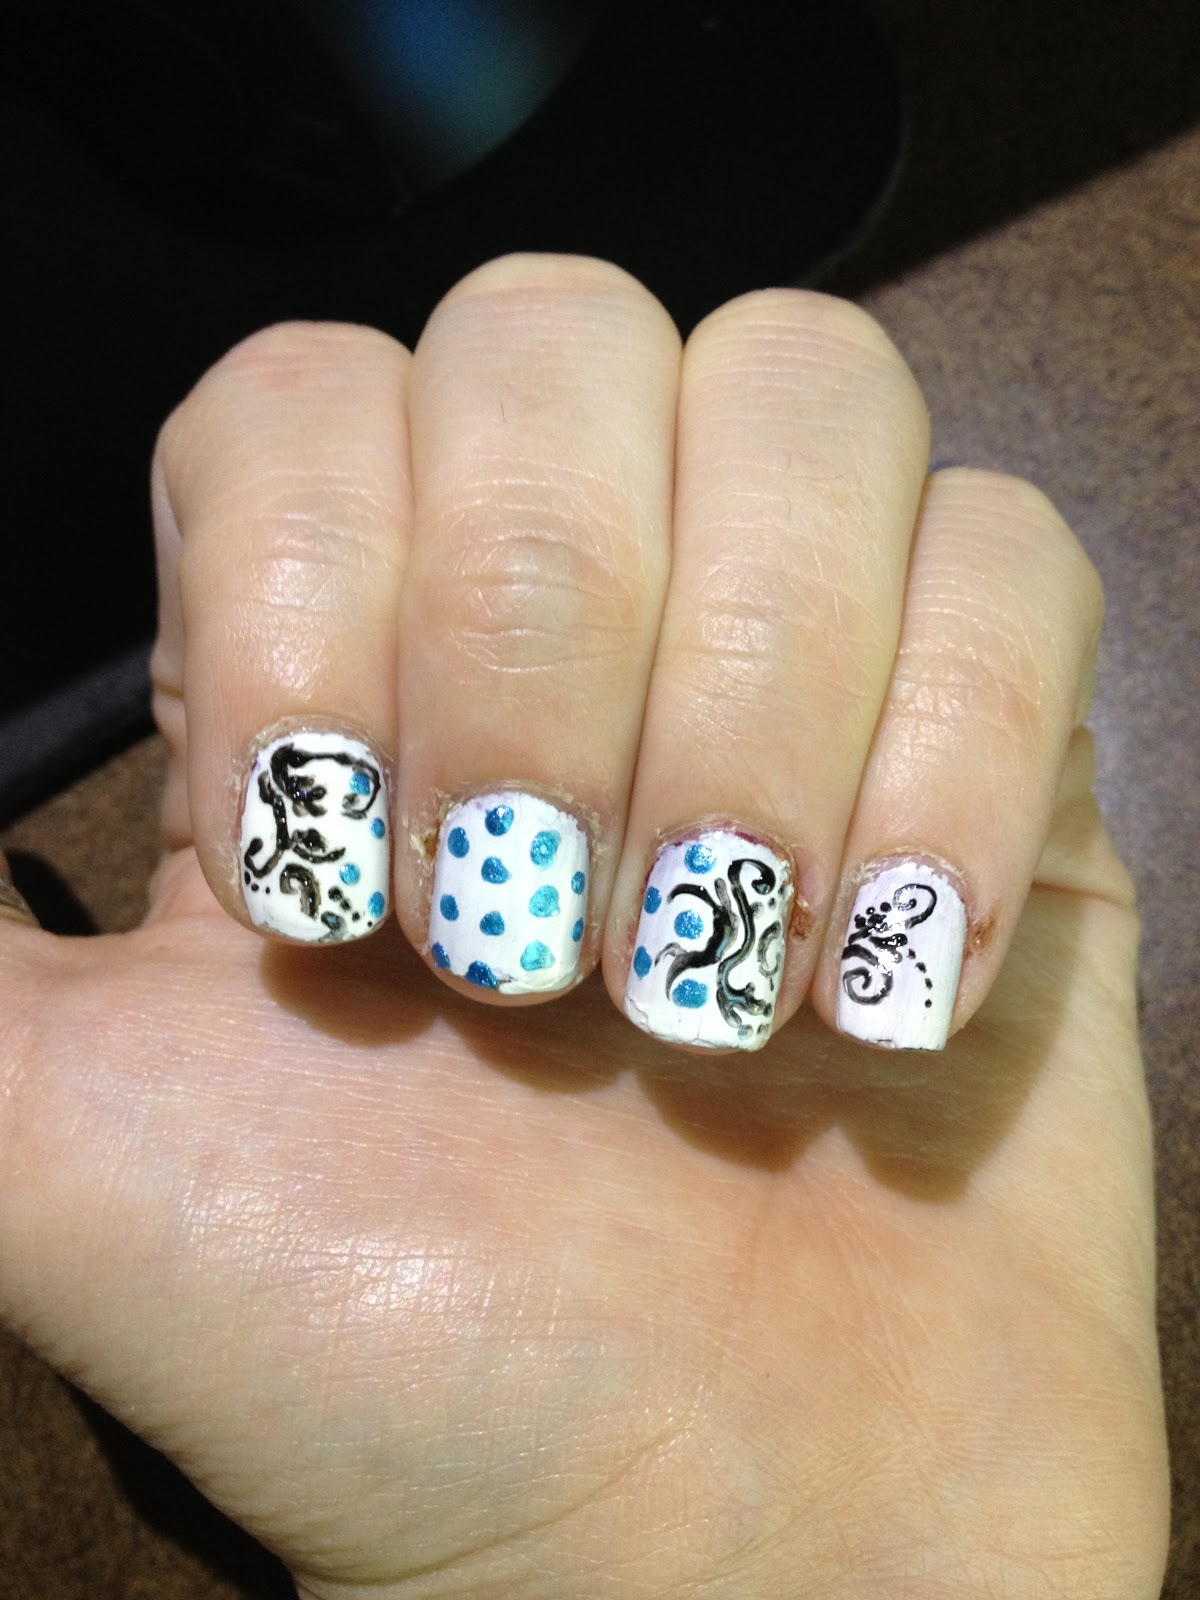
Dots & Doodles, and Terrible Cuticles
I think the title says it all.
Apologies for the cuticles. I have some excuse - my hubby & I just made an offer on a house!


Apologies for the cuticles. I have some excuse - my hubby & I just made an offer on a house!


Thursday, October 4, 2012
Autumn elegance
Summer is finally drawing to a close, and with it tank tops and t-shirts are getting packed away to make room for wool and flannel. Or evening gowns. Whatever it is you wear to the grocery store.


Either way, it's sure to go great with a matte or satin finish polish, tipped with just a touch of sparkle. Bring on the fall!


Either way, it's sure to go great with a matte or satin finish polish, tipped with just a touch of sparkle. Bring on the fall!
Monday, September 24, 2012
Having this much fun with nail polish can't be healthy.
I think it's safe to say I'm approaching the end of my summer blahs. And with it comes the stir-crazy creativity! I really wonder if having as much fun playing with nail polish & polymer clay as I've been having is entirely healthy. Oh, well. It's non-toxic. That means it's good for you!


Trying variations is going to take some time & experimentation. This one turned out interesting, but not great - I used a solid color base, then added pattern using a stamping plate. I top-coated to keep the stamped image secured (sometimes they can peel up, otherwise), then striped & coated in black. It turned out interesting, but not as great as I hoped.


I'm in a really good mood. Today is my wedding anniversary - 8 years. Once you figure in the time we dated, I've now spent well over a decade with the most wonderful man in the world.
As a special anniversary present, I made him a charm for... well, I'm not really sure what for. His phone doesn't have anywhere to hang a charm, and he hates key chains. Maybe I'll have to buy him a charm bracelet. I'm sure he'd like that.
And then, as an extra-special anniversary present to him, I painted my nails to match the shirt I'm wearing. If he notices, I'll be super impressed!


And now I'm playing around with new techniques - using striping tape to pattern color overlays. Oh and I just got a new idea as I typed that! OK moving on!
This design turned out incredibly gorgeous, and now I'm trying out variations on a theme. This one was a pretty simple idea - stripes of color down the nail. Once they're totally dry, striping tape went across the nail, cut long enough to leave plenty to easily grab. Then a solid coat of glossy black (I used Wet 'n Wild Wild Shine in Black Creme). While it's still wet, grab one end of the topmost strip of tape, and just peel it back, showing the colors hidden by the blackout on top.


Trying variations is going to take some time & experimentation. This one turned out interesting, but not great - I used a solid color base, then added pattern using a stamping plate. I top-coated to keep the stamped image secured (sometimes they can peel up, otherwise), then striped & coated in black. It turned out interesting, but not as great as I hoped.


And last but not least, a definite must-do design next time I'm at a heavy metal concert. Or possibly a motorcycle rally. Matte black, with 3D spikes in silver, made from polymer clay.

In conclusion, I have a bit more energy than I have in awhile. Could you tell?
Monday, September 17, 2012
Snake skin
Slithering your way today - snakeskin nails! I've seen actual snakeskin nails - trimming shed skin meticulously to the size of each nail, attaching, and sealing to last a few weeks. Evidently, many nail salons offer this look for the everyday-low price of ~$300. I think I'd pass on that price tag and just do it myself... and I had snakeskin laying around and had nothing better to do with it, I might've tried that. Unfortunately, I'm fresh out of snake bits laying around the house, so I'll just have to mimic the pattern with paint.
I achieved this look by mottling greens and browns, then stamping a sheer silver over them with one of my Bundle monster plates.

I achieved this look by mottling greens and browns, then stamping a sheer silver over them with one of my Bundle monster plates.

Thursday, September 13, 2012
Border / Outline Nails
I must admit, I was NOT a fan of this look when I first saw it. Simple concept: a thin border all along the edges of the nail. It looked strange, and pointless - it'd require a new manicure once a week, just due to that line moving as the nail grows!
And then it occurred to me that I redo my polish at least that often anyway, so that really wasn't much of a reason to avoid it. I also think the color scheme when I first saw it was a bit of a turn off - a very light cream/fleshtone, with a black outline. Just looked like dirty nails.
Yuck. No, thank you.
As I thought about it a bit, though, I realized it really wouldn't be that hard to turn it into something I'd like. Apply a palette shift, break up that stark, solid line with a little filigree, and voila! You have a frame for whatever picture you want to feature on your fingers today.
It is, after all, nail Art!


Freehand filigree is always a great way to fill up an empty space. This look, I think, I could get used to.
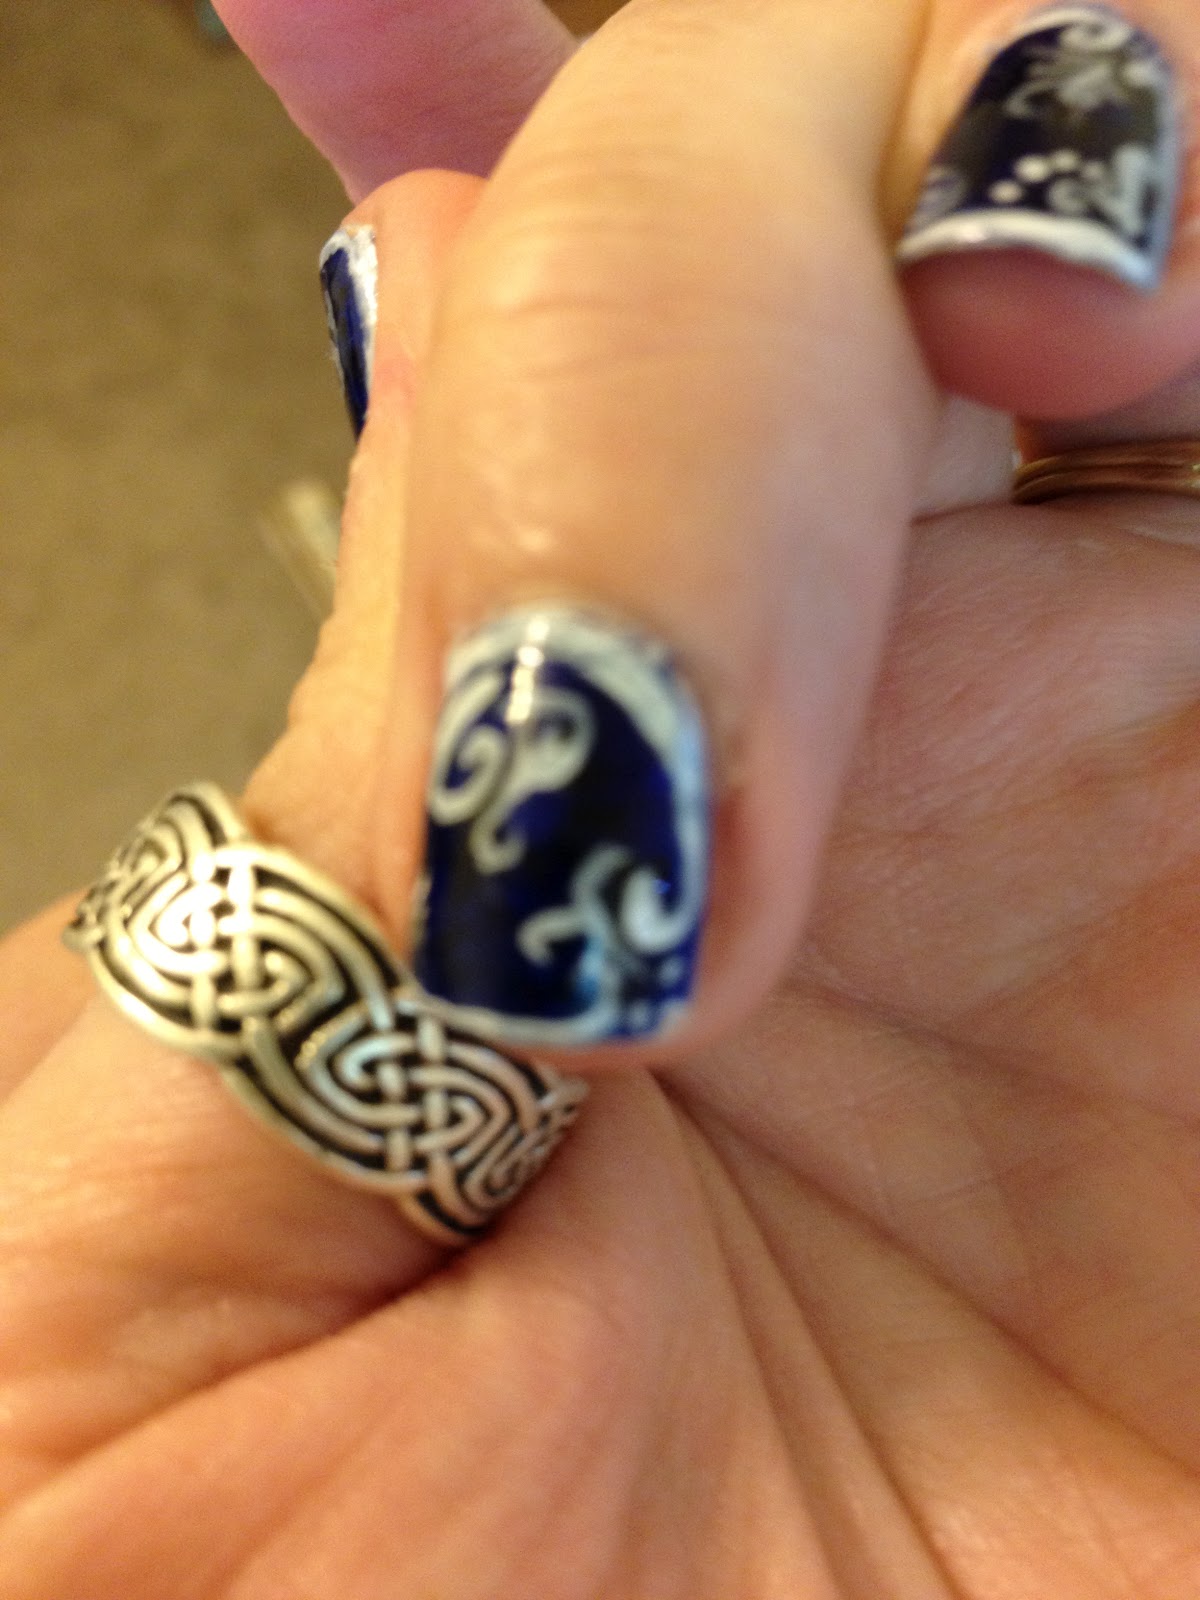
Here's a closer look at the detail on those fingers - each is a bit different, which is both fun to do and keeps it looking hand-drawn, since you're not going to find a press-on pattern or stamp that's just a little bit different for every finger:


Subscribe to:
Posts (Atom)